Generating the invoice and concluding the project in OTM
After delivering a project in OTM, it's simple to generate and send the invoice. Click on "Invoice" in the progress bar under the project summary near the top of the display to get started.
Tab for generating an invoice

Note that there are various options available for the billing address. The terms can also be altered here. If there have been changes to the rates or line items, go first to the Edit line items tab and make the necessary modifications. Otherwise, click the Generate Invoice button to create the invoice. The PDF invoice can be sent directly by marking the checkbox above the button to generate the invoice. If you intend to print and send a copy of the invoice using the postal service, it is not necessary to mark the checkbox.
The invoice
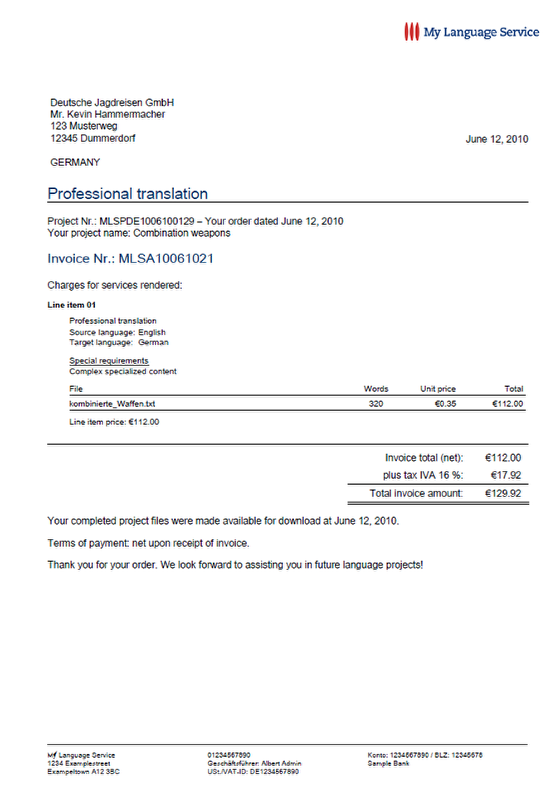
Here's a copy of the invoice that was created and sent to the customer.
Generate invoice tab after the invoice has been created

If you look at the Generate invoice tab again after the invoice has been created, you'll notice a new button to mark the invoice as paid. When the payment has been received, click the button. Clicking the Mark as Paid button will display a confirmation, then re-direct to the project switchboard.
Project switchboard view after the invoice has been paid
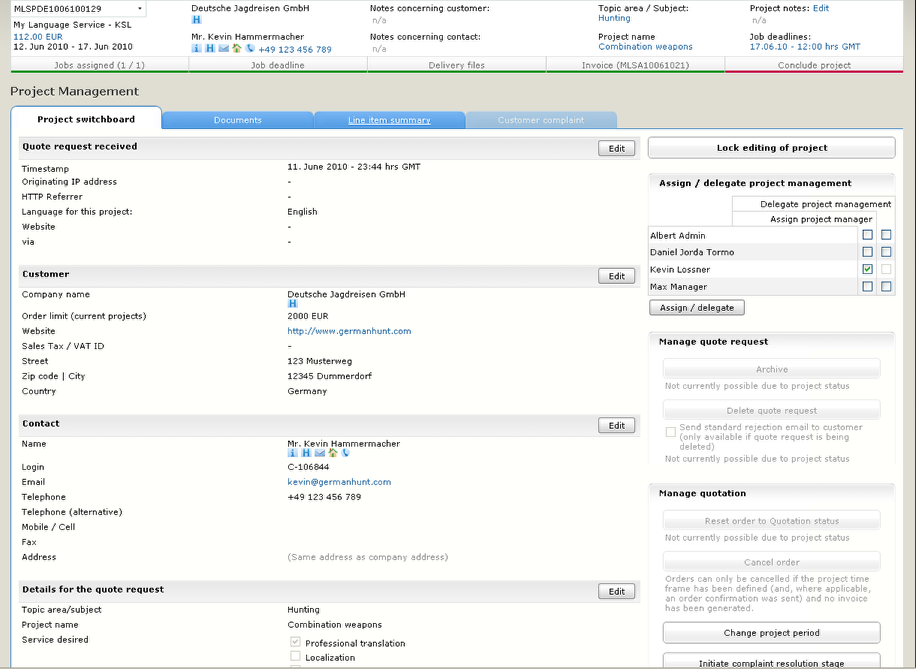
Notice that after the invoice was marked as paid the line under Invoice changed from yellow to green. The next step is to wrap up the project and close the order. To do this, click "Conclude project" i the progress bar (it's underlined in red)
"Conclude project" tab
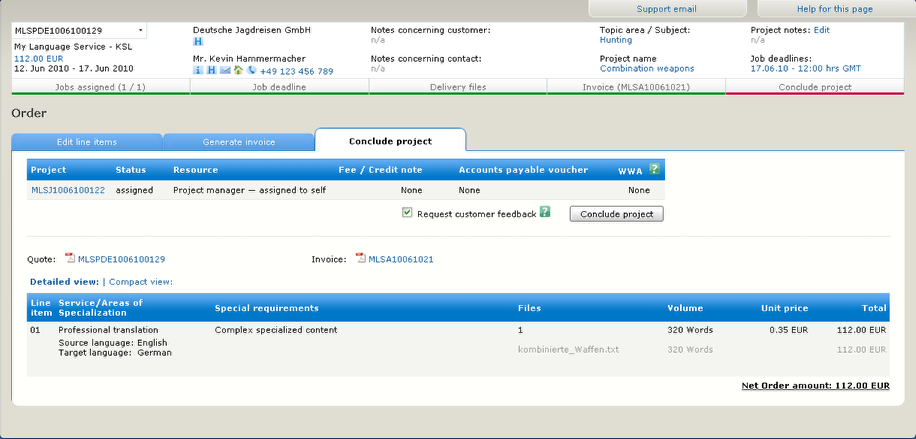
When you conclude a project you can also send a request to the customer for feedback. This is a good way to build your testimonials.
Customer's project history
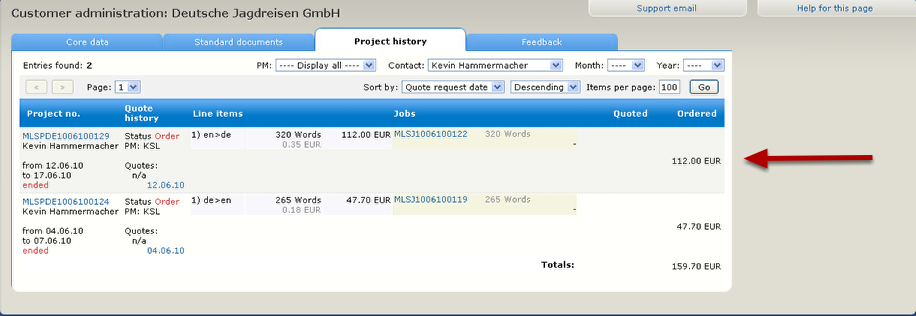
After the project has been concluded, it will disappear from the order list. To view the project details once again (or to make changes, re-open the project, etc.), click the H icon under the company name or contact name in the project summary near the top of the screen. The project history for this customer is show above. Clicking the project number (blue text at the left) will open up the project switchboard view for the order.
Project switchboard view for a closed order (finished project)
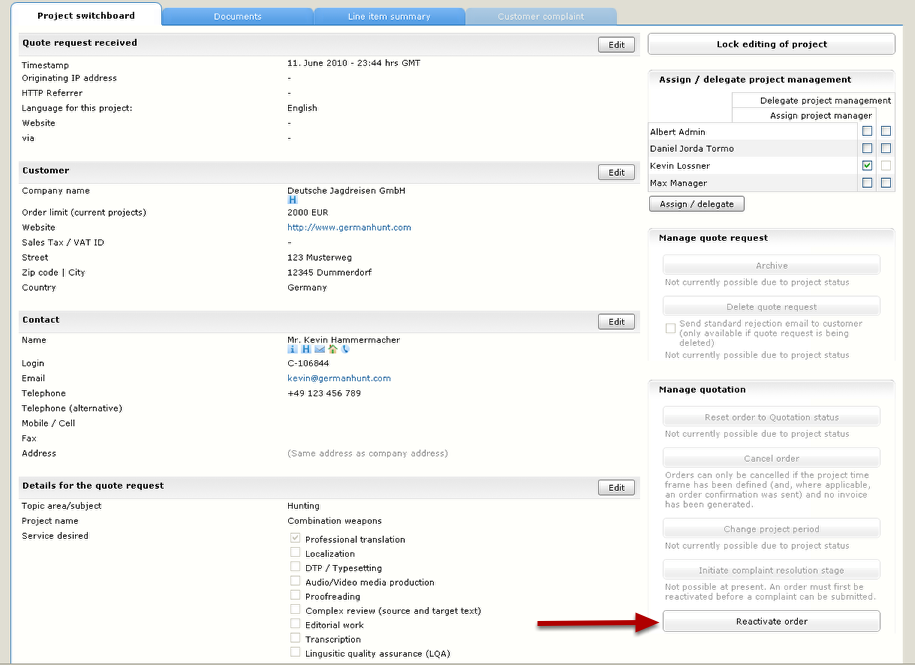
Notice that the entire progress bar is green, indicating that all steps have been completed successfully. If it is necessary to make changes, you can re-activate the order by clicking the corresponding button.